Colourful high gloss
Step by step to a glossy outcome


You are the accolade of a coating company and a classical supplier of uninterrupted popularity in the furniture and kitchen market: high-gloss surfaces! However, like several valuable and glossy things, they are not very easy to have. He who would like to apply high-gloss coatings, must work very accurately, very cleanly and with great patience. However, he will also be rewarded – with a glossy result and with lustrous customer's eyes! ADLER shows you step by step how this is done:
The right substrate
Laminated MDF panels are best suited as the substrate for colourful high-gloss surfaces. Attention: Insulate the open edges particularly carefully!
Steps
-
Step 1 – Applying filler
The prerequisite for flawless high gloss is a well-filled and insulated surface. Apply three coats of ADLER PUR-Isofill on the edges and one coat on the laminated surfaces for this purpose: Allow the first coat on the edge to dry for at least tow hours and carry out intermediate sanding before applying the second coat with grain size of 320. Then sand the primer film on the surface with grain size of 280 and now apply a coat all around with PUR-Isofill. In this manner, you have applied filler material to the surface once, but three times to the non-laminated edges.
-
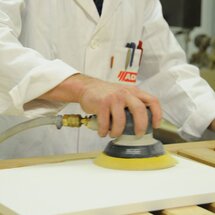
Step 2 – Grinding
After applying the coat of filler, allow it to dry overnight and then grind it using an eccentric grinding machine stepwise from grain size 280 to 360 and then up to 500. Attention: Do not forget the edges!
-
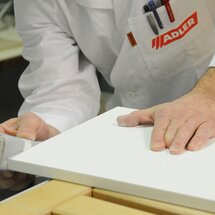
Step 3 – Cleaning
Before working further and applying the colourful coat, clean the surface painstakingly so that it is free from grinding dust! You can do this well with a jet of air and using a special tack rag.
-
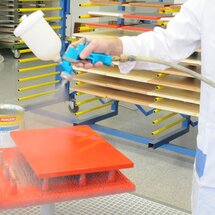
Step 4 – Colour coat
This is where colour comes into the picture! With ADLER Pigmopur in G50 degree of gloss, you can apply the desired shade of colour to the high-gloss surface. Klaus Moser decided to opt for a bright red (RAL 3020). One coat is sufficient
-
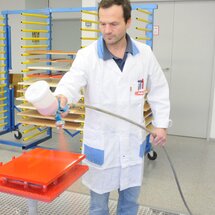
Step 5 – Glossy coat
The glossy coat is applied at least two hours after applying the colour coat but within 16 hours of the same. Klaus Moser applies two coats of PUR-Glanzlack here. He allows it to dry for about three hours between these two coats, without any intermediate sanding and not overnight in any case! However, you must let it dry for at least 3 days until polishing.
-
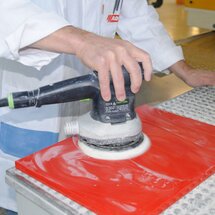
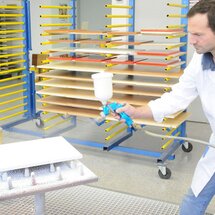
Step 6 – Wet grinding or sanding
When the glossy coat has dried, the outcome appears to be quite good – above all, if you have worked in a dust-free environment. Nonetheless, he who would like to have the perfect high-gloss finish, does not stop here but now gets down to polishing (or buffing). Wet sanding or grinding is done to begin with: Spray water with detergent added to it on the surface and sand it step by step with grain sizes of 1,000, 1,500 and 2,000.
-
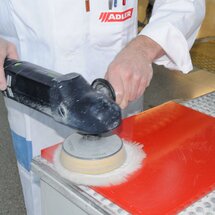
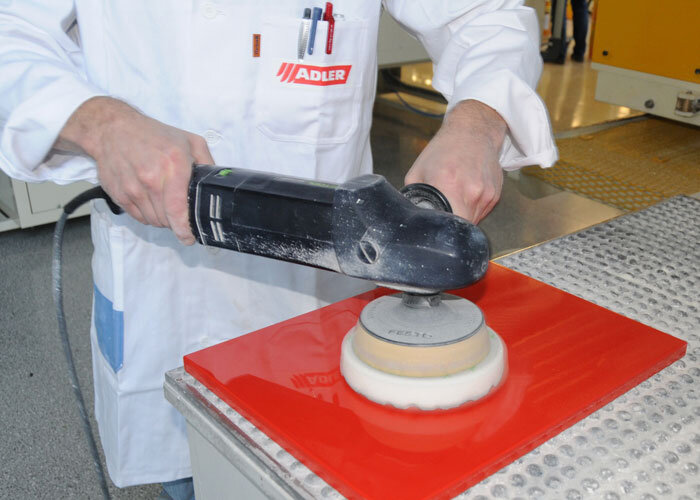
Step 7 – Polishing
It is now time to polish the surface: First spread coarse polish on the surface and polish it with a lambskin pad...
-
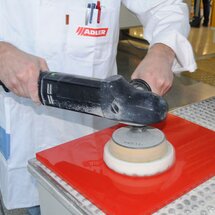
...then repeat this using fine polish and sponge pad.
-
Remove the residual haze of polish using a micro-fibre cloth and finally polish up the surface with a high-gloss polish, best done by hand. Product recommendation for the polishing agent are furnished in the ADLER working guidelines.
-
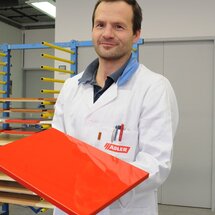
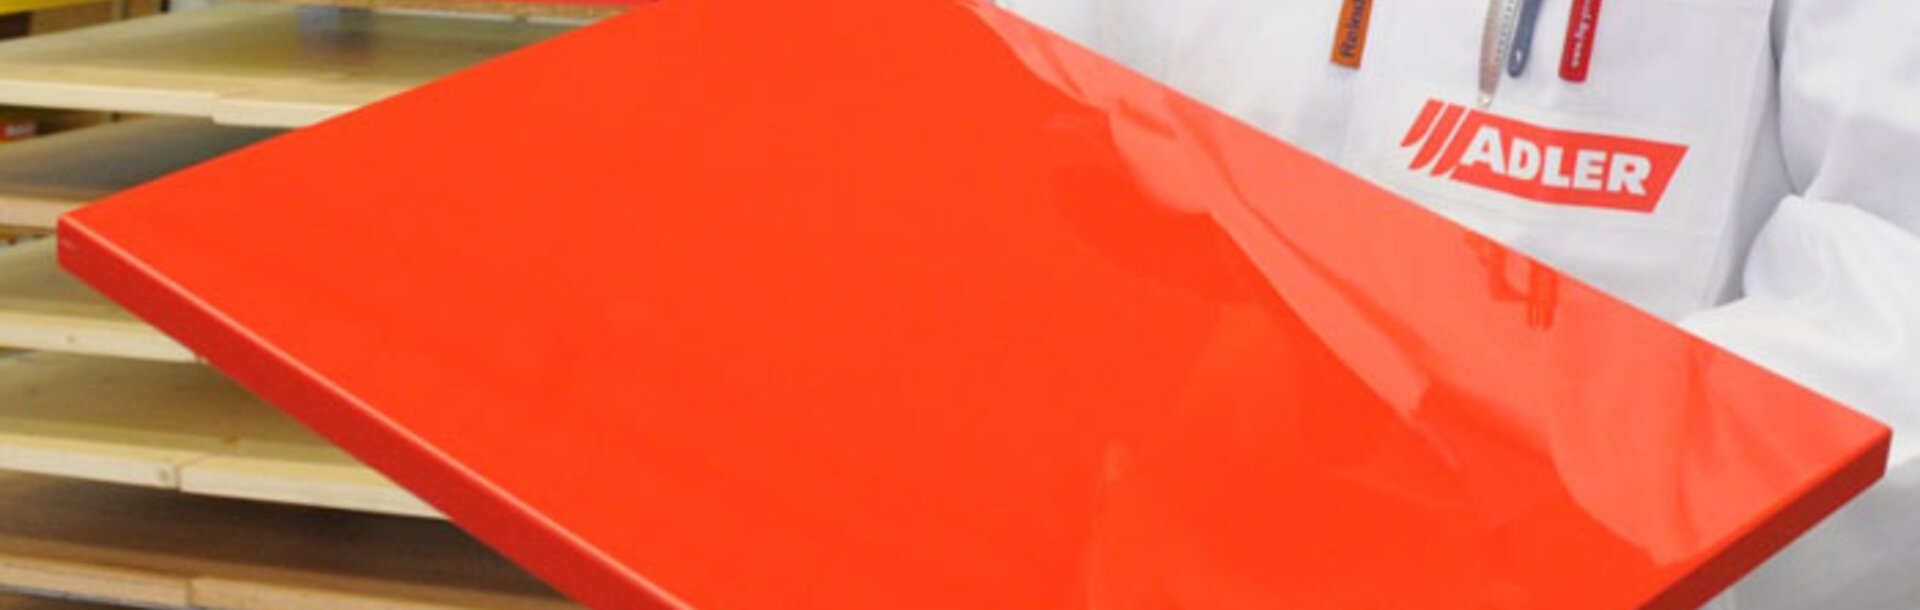
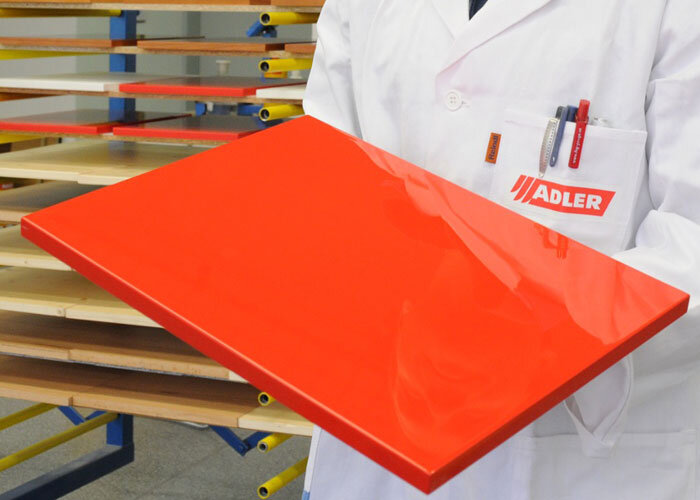
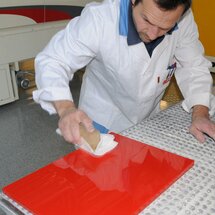
The result
ADLER application engineer Klaus Moser in the mirror of the result. The trained carpenter has been working in furniture application technology at ADLER for twelve years and has shown how to achieve this brilliant result.
Used Products:
MDF panel
ADLER PUR-Isofill White
ADLER Pigmopur G50, RAL 3020
ADLER PUR-Glanzlack

© by adler-lacke.com